

Footer
The footer area appears at the bottom of every page on a website. Navigate to the Widgets section by going to Dashboard > Appearance > Widgets.
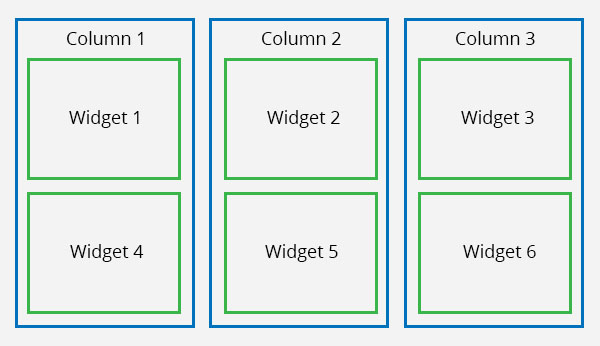
The footer is composed of three columns. Each widget in the footer area will be placed in one column, and each subsequent widget will be placed in the next column. For instance, the first widget will be placed in the first column, the second widget in the second column, and the third widget in the third column. The fourth widget will be placed in the first column beneath the first widget, the fifth widget will be placed in the second column beneath the second widget, the sixth widget will be placed in the third column beneath the third widget, and so on.
There is no limit to how many widgets you can add to the footer.
Adding Text & Images to the Footer
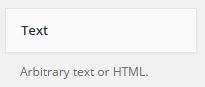
The best widget to use for adding text to the footer is the Text widget.
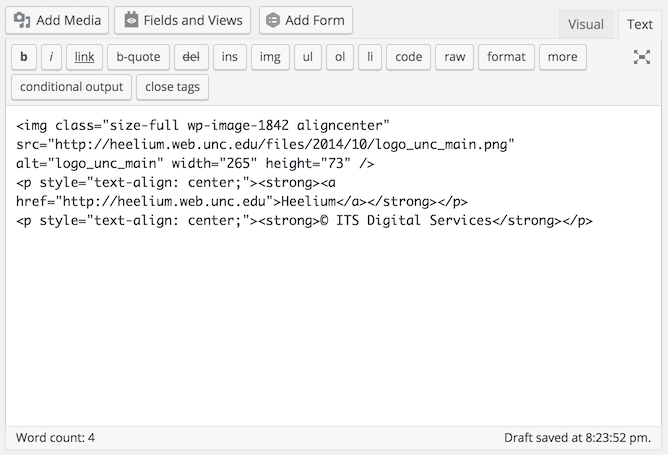
Since widgets do not have a Visual Editor, you will have to use HTML to add images or formatting to text in the Text Widget. If you do not know HTML, follow these steps to utilize the Visual Editor to create the HTML for you.
- Add a new post by going to Dashboard > Posts > Add New. You will not actually save this post.
- Create the content you want to add to the footer in the Visual Editor.
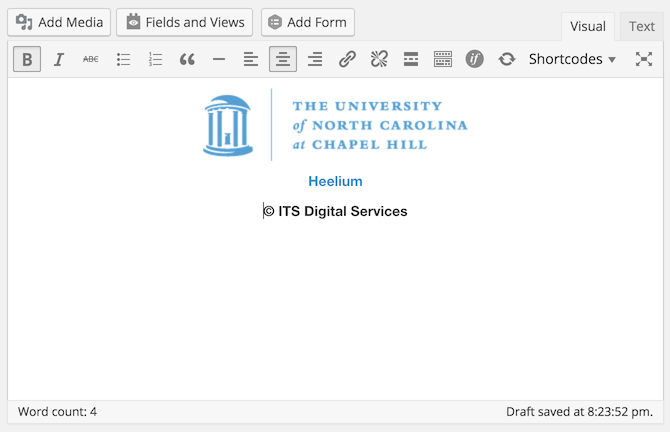
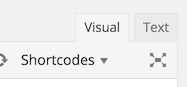
- At the top right corner of the editor are two tabs: Visual and Text. Switch to the Text editor.
- Copy the HTML code.
- Paste the HTML code into the Text widget for your Footer area.
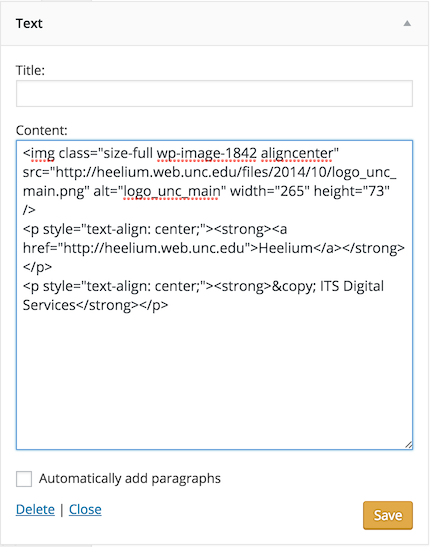
- Save the widget and you’re done.