

Menus
Primary Navigation
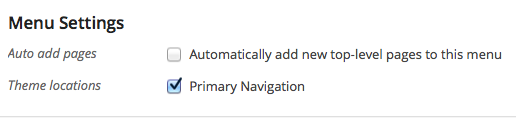
Your Primary Navigation is located in the header of your website. Depending on the “Header Type” chosen in the “Theme Options” panel, your menu will will be positioned at the top of the page or just below your website name/logo and search form. To create a custom menu for your header navigation and include custom links and category links go to Appearance > Menus. Create your menu, save it, and then assign it to the “Primary Navigation” in the Theme Locations box at the bottom of the page.
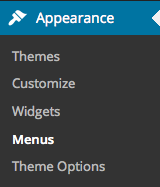
- Navigate to Appearance > Menus section of your admin.
- Click the “Create A New Menu” link to make a new menu. Enter the name then hit the “Create Menu” button.
- To add a menu item, select one of your created pages on the left hand side and click “Add to Menu”. You can also add all kinds of different posts from the left side.
- To add a custom menu item, enter a custom name and link into the “Links” box.
- Manage your menus by using the drag and drop functionality. To create a dropdown menu, simply drag a menu item below and slightly to the right of another menu item and it will lock into place and create a dropdown section.
- After setting up your menu, scroll down to the bottom of the page to assign the menu to one of the 4 locations in the Theme Locations box.
- Once you’re done, make sure you click the “Save” button. You can also assign your menu in the customizer after the menu has been created. In the customizer click Navigation in the left sidebar and assign your Primary Navigation.If you have a drop-down list for your site navigation, the parent item should only be a grouping title with a “#” value for the URL parameter. The Bootstrap navbar requires a click to open the drop-down list, so any link that is set in the parent item will not work. The navbar only allows for a depth of one drop-down level.